Circe by Madeline Miller
And Lemon Gold Cupcakes with Pig German Butter Cookies
I am a sucker for anything cosplay-able. When my friends announced that our next annual dress-up/theater event would be Greek Mythology themed I could not contain my excitement and decided to read all the Greek Mythology I could get my hands on. I am not playing the role of Circe, but I was drawn to this book because of the story Circe represents: classically misunderstood woman whose strength and beauty is doubted but who is crazy powerful and worthy. I spent a decent majority of the reading time with my inner monologue screaming, “Nooo Circe! Don’t let them play you like this! You’re a powerful witch, girl!!!” I think, by the end of the book, she heard me.
Circe grows more powerful and self-determined as the story progresses. When she turns her first batch of fellas into pigs I nearly threw the book down to cheer – let me tell you, they deserved it! If you read the Odyssey in your 9th grade English class, like me, then you are only familiar with a very different version of Circe – where she is weak and grovels at Odysseus’s feet. It was nice to have her story and strength reclaimed by Miller in this novel. Additionally, in the spirit of Mother’s Day this weekend, Circe was a fierce single mother who did everything in her power to protect and love her son. It is equal parts: epic adventure, affirming powerful women, witchery and magic, and romance. Super like!
Final Recommendation:
Skip it! / Put it on your list! / ((Go read it now!))
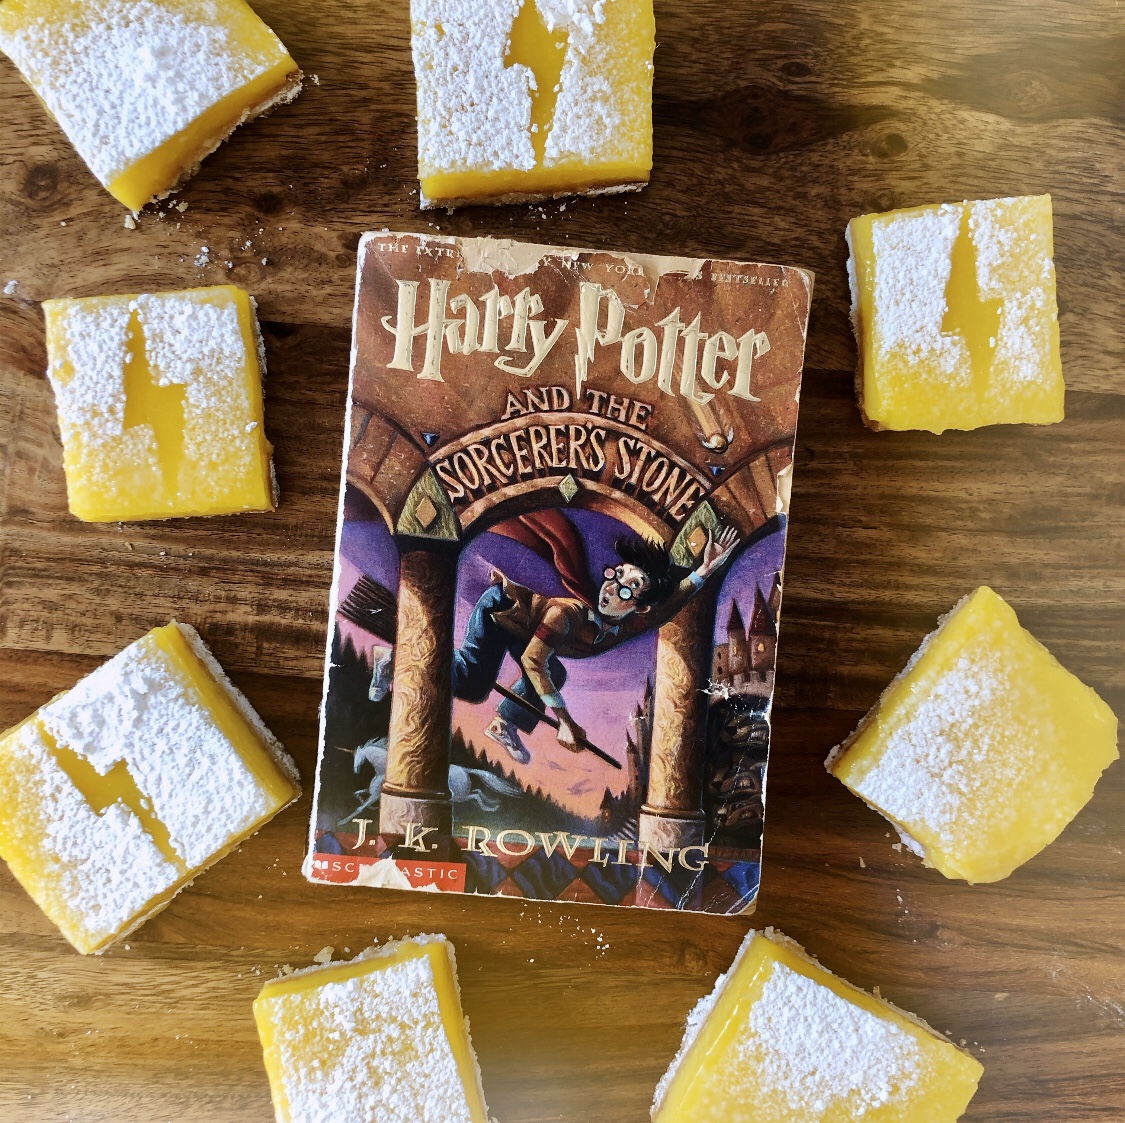
Circe’s exile on the island Aiaia, although making her lonely at first, only gives her space and freedom to improve on her witchcraft. I wanted to make a cupcake and cookie that was an homage to her beauty (no matter how many called her “ugly” or her voice “thin” and annoying because she had the voice of a mortal and didn’t glow like her siblings). As the daughter of Helios and a naiad (a sort of water guardian – daughter of titan Oceanos), it was assumed that Circe would come out a golden goddess as her siblings had. She didn’t – but that doesn’t mean she wasn’t fierce and it took her getting away from her family and the cruel judgment they bore upon her for her to discover this. Thus, we have a fragrant lemon cupcake colored gold and some pig-shaped butter cookies as a testament to her power (and isn’t power better than fleeting and subjective standards of beauty anyways?!).
Quotes that inspired the recipe:
“The air felt limned in gold around me. ‘Come,’ I said. I strode down the hall and out to the sty. Its gate swung wide at my touch. The pig squealed, but when they saw him behind me their terror eased. I brushed each snout with oil and spoke a charm.”
“It is a common saying that women are delicate creatures–flowers, eggs, anything that may be crushed in a moment’s carelessness. If I ever believed it, I no longer did.”

Lemon Cupcakes with Lemon Buttercream Frosting (makes 12 cupcakes)
For this cupcake, I used my classic Vanilla Cupcake recipe and just added lemon zest/juice to it. Feel free to omit the lemon for vanilla only! This cupcake is a great base for a lot of different flavor experimentation.
Cupcake Ingredients:
- 1 stick of unsalted butter (softened)
- ⅔ cup sugar
- 2 tablespoon (packed) of lemon zest (zest 2 lemons fresh!)
- 3 eggs (at room temperature)
- 1 teaspoon of vanilla extract (when I do just vanilla I use 1 and ½)
- 1 ½ cups of All-Purpose Flour
- 1 ½ teaspoon of baking powder
- ¼ teaspoon of kosher salt
- ¼ milk
- Fresh juice of the two lemons you zested!
How-To:
- Preheat oven to 350 degrees and fill your cupcake pan with liners
- Cream together your softened butter, sugar, and zest. When the lemon zest and sugar combine it creates an awesome lemony flavor throughout the whole cupcake. Mix on medium until they are nice and fluffy.
- Add your eggs, one at a time, using a rubber spatula to wipe down the sides each time.
- In a separate bowl, mix together lemon juice, vanilla, and milk. Set aside for a sec.
- In another bowl, mix together all dry ingredients (flour, baking powder, salt) and whisk to combine.
- Alternate between adding your wet and dry ingredients into your sugary lemony butter mix. Mix until combined – don’t over mix! I like to do the last couple of mixes with my wooden spoon or spatula.
- Distribute the batter evenly throughout the 12 liners – it should end up at all being 3/4ish full. Put in the oven for 17-20 minutes. 18 minutes is usually my go-to time for most cupcakes. The trick to knowing a cupcake is done: touch the middle of the cupcake near the end of bake time and if it bounces back, it’s done!
- Allow the cupcakes to cool in the pan for 5 minutes then transfer to a wire rack to cool completely!
- Optional filling for these cupcakes: they’d be so yum with a lemon curd filling.
Frosting Ingredients:
- 2 sticks of unsalted butter (softened)
- 4 cups of powdered sugar
- 2 teaspoons of lemon zest (from about half a lemon)
- 2 tablespoons of lemon juice
- 1-2 tablespoons of heavy cream (whole milk would also be ok, heavy cream tastes best)
- Pinch of salt
How-To:
- Put your softened butter in the bowl of a stand mixer on medium and beat until it is consistently creamy. This takes around 2-3 minutes.
- Add the powdered’ sugar 1 cup at a time (trust me – you’ll have a mega mess on your hands if you try and put it all in at once). Mix until combined.
- Add in the lemon juice, a pinch of salt, and lemon zest. Beat for about 2 minutes on medium speed.
- Add 1-2 tablespoons of heavy cream until you get a consistency you’re happy with. Beat again for about 2 minutes.
- Transfer to a piping bag and frost your cooled down cupcakes! This can also be made ahead and stored until about 1 week in the fridge. It is better to frost your cupcakes close before serving them! If you are making them ahead of time, bring them to room temperature and then beat them in your stand mixer for a minute or two until its creamy/a good consistency again! If necessary add another tablespoon of heavy cream.
- Make them gold by mixing a tablespoon of clear vanilla extract and some edible gold dust. Then you sort of paint it on. So fun and so shiny! You can also buy gold spray for the same effect but it’s less tasty.
*Note on the pig cookies. I hated making them. I made a mistake, knew the mistake I made, but didn’t have the ingredients to start over. When I finished them I handed them to my husband and said, “Here! Take them! Take them out of my sight!” Don’t be like me – read the instructions carefully! 😀
Pig German Butter Cookies
Recipe from craftpassion.com/piggy-german-butter-cookie/
Special Equipment: A scale or use an online converter! However, my scale is one of my favorite baking tools!
Ingredients: (makes about 48 pigs depending on how large you make them)
- 125 grams of Unsalted Butter (NOTE: This should be VERY softened – not just room temperature — like almost melted but still holding it’s shape)
- 50 grams of Powdered Sugar
- 95 grams of Potato Flour
- 120 grams of All-Purpose Flour (sieved)
- 10 grams of Full Cream Milk Powder
- Pinch of salt
- Pink Food coloring
- Black Sesame Seeds (I used melted chocolate and a toothpick because I couldn’t find black sesame seeds)
How-To:
- Can you tell from my ingredient list where my mistake was? Yep. It was the butter. Make sure it is softened as your first step or else your batter will be very sandy and will crumble in your hands. I nearly had a meltdown, but butter is always a crucial ingredient in baking and can not often be fixed after other ingredients are mixed with it. Consider this your warning!
- Preheat oven to 300 degrees.
- Cream your SOFTENED (ok, I think you get the point now) butter and powdered sugar for about 1-2 minutes in your mixer until fluffy.
- Fold in (with a wooden spoon or rubber spatula) your AP flour, potato flour, milk powder, and salt. Mix until it comes together into a soft dough.
- Remove 2 tablespoons of dough and mix with pink food coloring. You can wear decorator’s gloves for this step or put the dough in some cling wrap and mix it through that – or you can just do it with your hands and live with the stains like I did. Up to you!
- To make the face of the pic, roll a small ball of about 8 grams out of the plain colored dough. Then roll three small balls out of the pink dough and pinch 2 of them into a triangle shape for the ears and 1 into an oval shape for the nose. Arrange the ears on top of your plain dough ball, pressing lightly so they’ll stick. Use a toothpick to pierce the nose hols in the oval snout.
- If you have black sesame seeds, press them lightly in now. If not, bake them without eyes and wait until they are cooled to dot them with melted chocolate eyes.
- Bake them in the oven for about 20 minutes.
- Cool for 5 minutes then transfer to a cooling rack.